
Running all Nodes Example
Description of running all the nodes in the integration branch
Overview
This project consists of several nodes that work together to control a robot. The nodes are managed using a tmux session, which allows for easy parallel execution and monitoring of multiple processes. The start_all_nodes.py script is used to initialise and start all the necessary nodes for the robot's operation.
Starting All Nodes
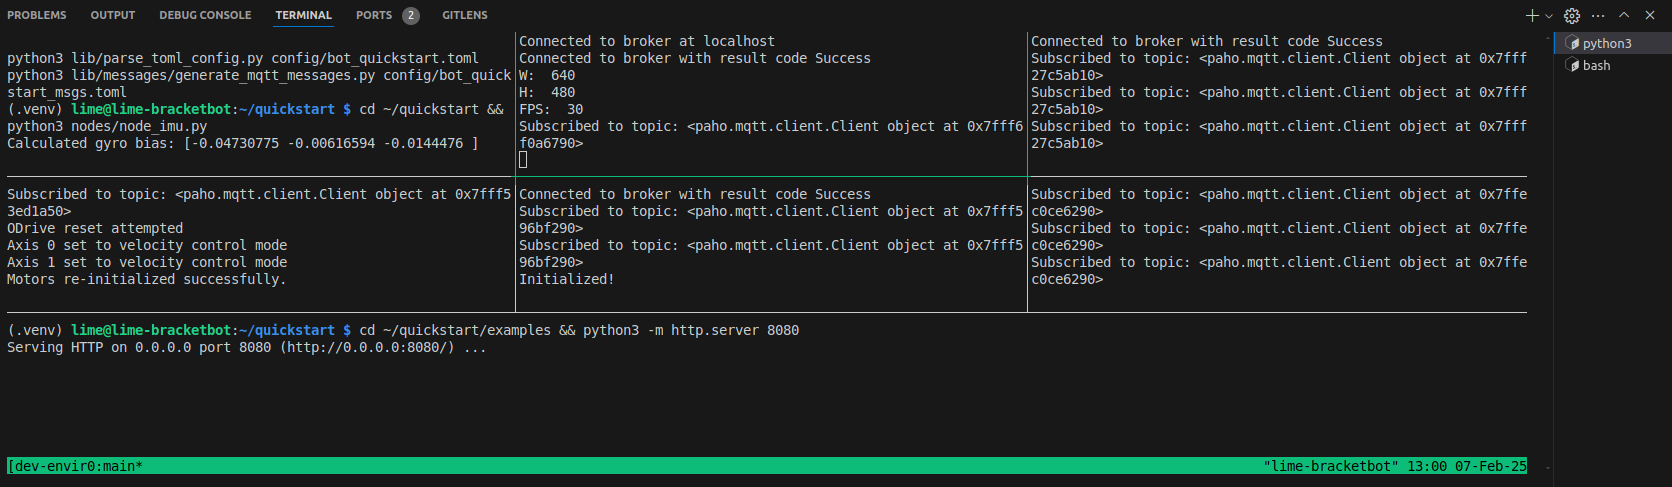
To start all the nodes, execute the start_all_nodes.py script. This script sets up a tmux session with a 3x3 grid of panes, each running a specific node of the project. The script will automatically kill any existing session with the same name to ensure a fresh start.
Steps to Start All Nodes
-
Ensure
tmuxis installed on your system. You can install it using your package manager, e.g.,sudo apt-get install tmuxon Ubuntu. But it should already be installed by the setup scripts -
Run the script:
python3 nodes/start_all_nodes.py -
Monitor the nodes: The script will create a
tmuxsession nameddev-environment. You can attach to this session to monitor the nodes:tmux attach -t dev-environment
Detach from the session: To detach from the tmux session, press Ctrl + B followed by D.
-
Reattach to the session: If you need to reattach to the session later, use the attach command mentioned above.
-
To kill the session: To kill the
tmuxsession, pressCtrl + Bfollowed by typing:kill-sessionand hit enter.
Node Descriptions
node_imu.py
node_imu.py- Purpose: This node handles the Inertial Measurement Unit (IMU) data. It initializes the IMU, calibrates it, and publishes both raw and processed IMU data to the MQTT broker.
- Key Features:
- Calibrates the IMU on the first cycle.
- Publishes gyro and raw IMU data at a specified rate.
- Publishes to the TOPIC_GYRO, TOPIC_RAW_IMU and TOPIC_RAW_IMU_UNSCALED_BIASED topics
node_control.py
node_control.py- Purpose: This node is responsible for controlling the robot's motors based on the target velocity and path plan. It uses a lookahead controller for trajectory planning.
- Key Features:
- Subscribes to target velocity and path plan messages.
- Publishes wheel velocities to the MQTT broker.
- Generates a stopping velocity profile when no target velocity is available.
- Publishes to the TOPIC_WHEEL_VELOCITIES topic
node_localization.py
node_localization.py- Purpose: This node processes IMU and wheel encoder data to estimate the robot's pose using an Extended Kalman Filter (EKF).
- Key Features:
- Initializes with static IMU data.
- Publishes processed IMU and localization messages.
- Corrects EKF state with encoder data.
- Publishes to the TOPIC_EXTENDED_POSE_W_BIAS, TOPIC_PROCESSED_IMU, TOPIC_ROBOT_POSE, TOPIC_ROBOT_EXTENDED_POSE. TOPIC_LOCALIZATION_INITIALIZED topics
node_mapping.py
node_mapping.py- Purpose: This node manages the depth wavemap and generates occupancy grids for mapping the environment.
- Key Features:
- Integrates depth images to update the wavemap.
- Publishes occupancy and traversability grids.
- Publishes robot pose grid coordinates.
- Publishes to the TOPIC_OCCUPANCY_GRID, TOPIC_TRAVERSABILITY_GRID, TOPIC_ROBOT_POSE_GRID_COORDS, TOPIC_WAVEMAP_OCCUPIED_POINTS topics
node_rerun.py
node_rerun.py- Purpose: This node visualizes the robot's data using the Rerun dashboard. It processes input data and logs it for visualization.
- Key Features:
- Subscribes to various MQTT topics for data visualization.
- Logs occupancy grid, TOF map, odometry, and path plan data.
node_drivepath.py
node_drivepath.py- Purpose: This node handles path planning using the D* algorithm. It generates a path from the robot's current position to a target point to be consumed by the control node.
- Key Features:
- Subscribes to target point and traversability grid messages.
- Publishes path plan messages.
- Replans the path periodically or when the target point changes.
- Publishes to the TOPIC_PATH_PLAN topic
Web Interface
The project includes a web interface for controlling the robot and visualizing its environment. The interface can be accessed through a web server running on the robot.
Accessing the Web Interface
-
Start the web server: The web server is started as part of the
start_all_nodes.pyscript. It serves theweb_interface.htmlfile. -
Open the web interface: Access the interface by navigating to the following URL in your web browser, replacing the color with whatever your bracketbot name is:
http://color-bracketbot.local:8080/web_interface.html -
Features:
- Control the robot using on-screen buttons or keyboard keys.
- Visualize the robot's environment and pose on a grid.
Updated 5 months ago